
Once the Customer Display options have been configured, the secondary iPad needs to be placed into Kiosk Mode in its Settings page to prevent it from being interacted with in a way that you might not intend e.g. the customer may be able to minimize or close the Customer Display application and launch a web browser or other apps installed on it.
Follow the instructions below to place your secondary Apple iPad into Kiosk Mode.
NOTE: Only perform this task on the iPad(s) that will be used as displays. Do NOT do this for your primary PAYD Pro Plus iPad(s).
1. From your iPad’s home screen, tap the Settings icon (![]() ).
).
2. Disable previews:
a. In the Settings screen, tap Notifications.
b. On the right pane, tap Show Previews.
c. Tap Never.
d. Tap < Notifications to return to the Settings screen.
3. Turn off the iPad’s sounds:
a. In the Settings screen, tap Sounds.
b. Slide the RINGERS AND ALERTS slider all the way to the left to mute the iPad.
c. Proceed to step 4.
4. Disable gestures:
a. Tap General.
b. On the right pane, tap Multitasking & Dock.
c. Toggle the Gestures switch to OFF.
d. Tap < General to return to the Settings screen.
5. Disable auto-fill options (to prevent the iPad from attempting to fill out data entry fields for names and addresses):
a. On the left pane, scroll down and tap Safari.
b. On the right pane, tap AutoFill.
c. In the AutoFill screen, toggle the Use Contact Info switch to OFF.
d. Toggle the Credit Cards switch to OFF.
e. Tap < Safari to return to the Settings screen.
6. Disable the Auto Brightness adjustment:
a. On the left pane, scroll up and tap General.
b. On the right pane, tap Accessibility.
c. Tap Display Accommodations.
d. In the Display Accommodations screen, toggle the Auto-Brightness switch to OFF.
e. Tap < Accessibility to return to the Accessibility screen.
f. Tap Display & Brightness on the left pane.
g. Slide the BRIGHTNESS slider all the way to the right (for maximum screen brightness).
h. Tap Auto-Lock.
i. In the Auto-Lock screen, tap Never.
j. Tap < Display & Brightness to return to the Display & Brightness screen.
k. Tap General on the left pane to return to the General screen.
7. Engage the Guided Access feature:
a. In the General screen, tap Accessibility.
b. Scroll down and tap Guided Access.
c. In the Guided Access screen, toggle the Guided Access switch to ON.
More settings appear once the feature is activated.
d. Tap Passcode Settings.
e. In the Passcode Settings screen, tap Set Guided Access Passcode.
The Set Passcode popup appears.
f. Enter a passcode in the popup, then when prompted, re-enter the same passcode.
Once you finish entering the passcode, the Passcode Settings screen reappears.
g. Tap < Guided Access at the top of the screen.
8. Close the Settings screen (by pressing the Home button).
9. Launch the Customer Display App by tapping its icon (![]() ) on the iPad’s home screen.
) on the iPad’s home screen.
10. Triple-click the iPad’s Home button.
The Guided Access menu appears.
11. Tap Options in the bottom left corner of the screen, then toggle the switches on the menu as follows:
· Sleep/Wake Button = OFF
· Volume Buttons = OFF
· Motion = ON
· Keyboards = ON
· Touch = ON
· Time Limit = OFF
12. Tap Start in the top right corner of the screen.
The “Guided Access started” message appears.
13. The iPad is now ready to use in Kiosk Mode. Repeat steps 1-12 on other secondary iPads as needed.
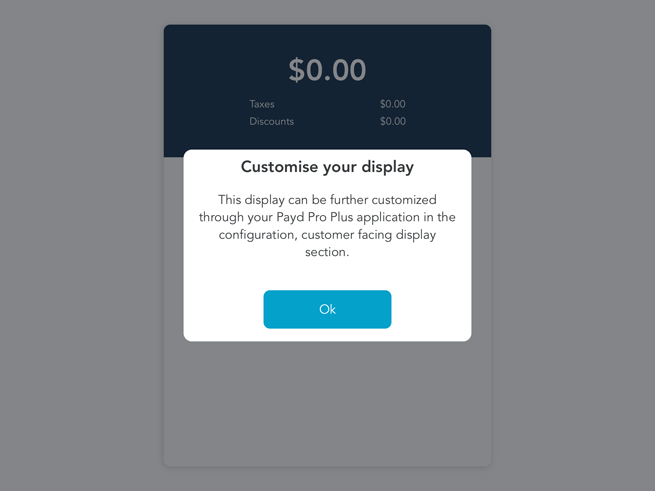
NOTE: If the secondary iPad prompts you with the Customise your display popup, tap Ok and then follow the instructions in the Configuring your Customer Display section.
1. Triple-click the iPad’s home button.
The Enter Passcode popup appears.
2. Enter the iPad’s passcode (that you entered in step 7f above).
3. Tap End.
The “Guided Access Ended” message appears.