Once the Customer Display App has been downloaded and installed on the secondary iPad, follow these instructions to synchronize the Customer Display App with the PAYD Pro Plus App on the primary iPad.
1. On the secondary iPad’s home screen, tap the Customer Display App’s icon (![]() ).
).
The first time the Customer Display App launches, it presents a brief tour of the feature, and a license agreement.
2. Page through the tutorial and read the license agreement, then tap Accept.
3. When the “Getting started…” screen appears on the secondary iPad, set the iPad aside for now.

4. On the primary iPad, in the Sale screen, tap the Settings (![]() ) button.
) button.
5. On the main menu, tap Configuration.
6. In the Configuration screen, tap Devices.
7. In the Configuration Devices screen, scroll down to the CUSTOMER FACING DISPLAY section.
8. Tap Connect beside “External Display: Not Connected”.
The Customer Facing Display Connect popup appears.
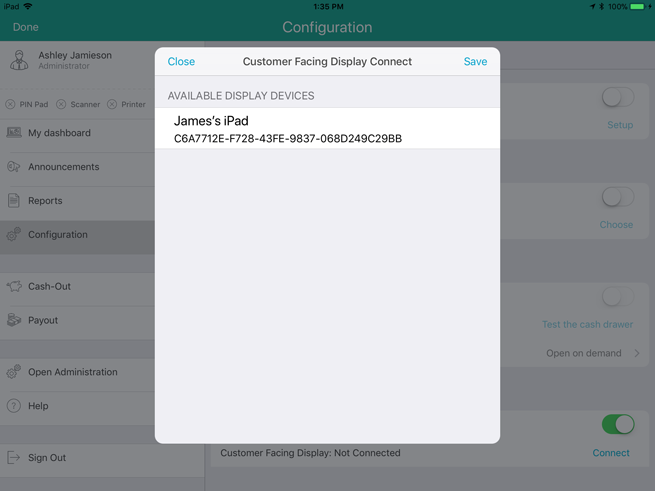
9. In AVAILABLE DISPLAY DEVICES, tap the name of the secondary iPad you wish to use as the CFD.
The caption changes to “WAITING ON DEVICE TO ACCEPT OR DECLINE INVITATION”.
10. On the secondary iPad, the Connection request popup appears with the name of the primary iPad listed.
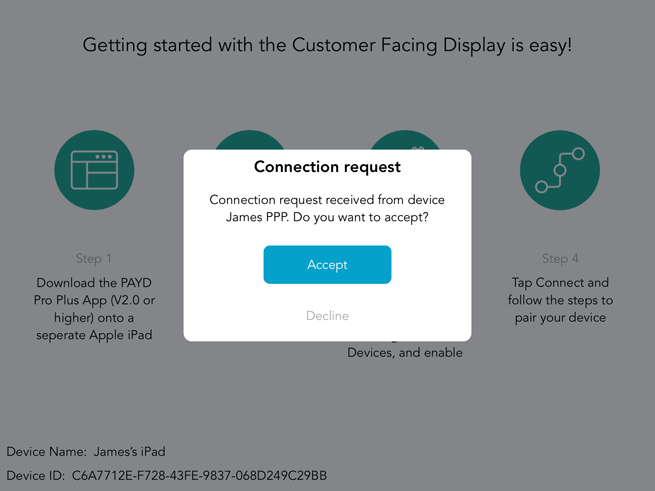
11. Tap Accept to link the two iPads together.
The name of the secondary iPad will now display as a “CONNECTED DISPLAY DEVICE” on the primary iPad.
NOTE: This operation may take several minutes to complete.
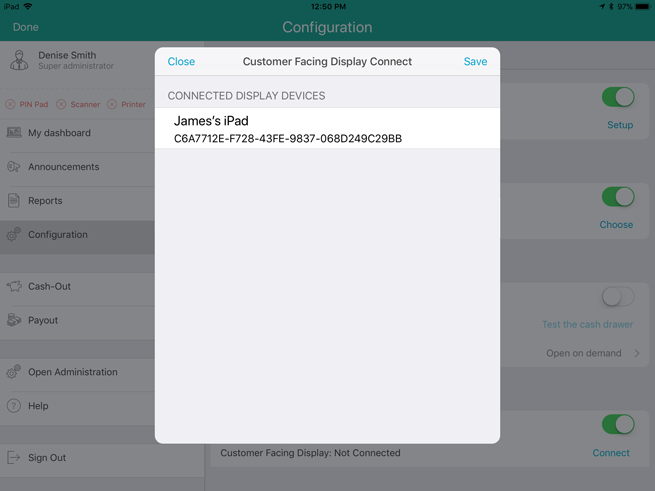
12. Tap Save in the top right corner of the Customer Facing Display Connect popup on the primary iPad.
Downloading and Installing the Customer Display App
Activating the Customer Display Feature in the PAYD Pro Plus App