Unpack the cash drawer.
Locate the keys and unlock the drawer. Ensure the lock remains in the “Unlocked” position so that the drawer will open on demand.
Plug one end of the cash drawer cable into the port at the rear of the drawer.
Plug the other end of the cash drawer cable into a port on the rear of the receipt printer.
Open PAYD Pro Plus and launch the POS view.
Click the Tools tab.
Click
the Hardware Setup button.
The POS – Hardware Setup popup appears
with the Scanner tab selected by default.
Click the Cash Drawer tab.
Click
the Cash drawer drop-down
menu and select the cash drawer driver from the list of installed
drivers.
NOTE: The driver
may have a different name than the one displayed here.
NOTE: If the
driver name does not appear in the Cash
drawer drop-down menu, ensure the OPOS drivers are installed
successfully.
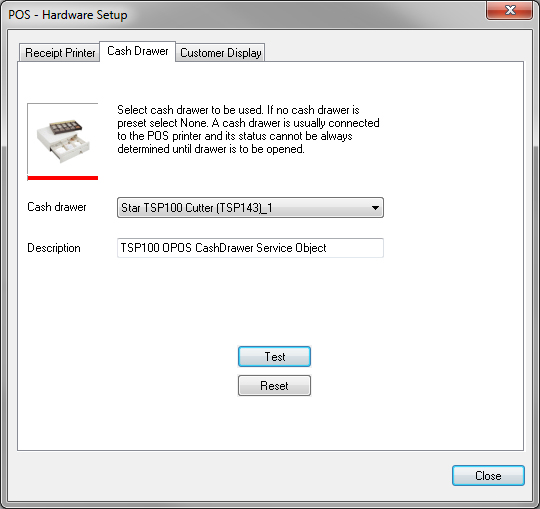
Click the Test button. Your drawer will open.
Click the Close button at the bottom of the POS – Hardware Setup popup.
Repeat steps 1 – 11 to install cash drawers on other POS lanes as needed.