When a customer makes an online purchase through your eCommerce website, PAYD Pro PlusTM treats that initial purchase as a Pre-Authorization. A Pre-Authorization transaction occurs when the final transaction amount is not known e.g. the Moneris® payment processing application verifies that the credit card used by the client is valid, but the sale is not yet complete (because the final total + tax + S&H is not yet finalized). To complete an eCommerce order, the following steps must be completed first:
Your customer makes an online purchase on the store's eCommerce website. Their credit card is pre-authorized for the amount of their purchase.
You receive a notification email (to the Merchant Notification email address configured in the eCommerce - Options screen) informing you that an online purchase has been made.
You, or your staff view the details of the transaction (logged in to PAYD Administration or in Multi-Location Administration). You can use the order verification tools to help them decide to proceed with the order or not.
● If you decide to fulfill the order, proceed to step 4.
● If there appears to be problems with the order (as highlighted by the order verification tools), you may need to take additional measures with the customer before fulfilling the order.
Prepare the customer's items for shipment etc. Gather the items and package them to ship, or for pickup.
Capture the transaction (this will complete the Pre-Authorization and take payment from the customer's credit card).
Ship the customer's order, or hold for pickup.
Do the following steps to complete an eCommerce order:
From
the PAYD Administration main screen, click Transactions.
The Transactions search results screen
appears.
Search
the orders for the transaction you wish to complete.
NOTE: You should
already know the name of the customer and the details of the order
based on the email notification received from the system when the
customer originally placed the order.
Once
the order is located, click on the Order
ID in the search results.
The Order Details screen appears.
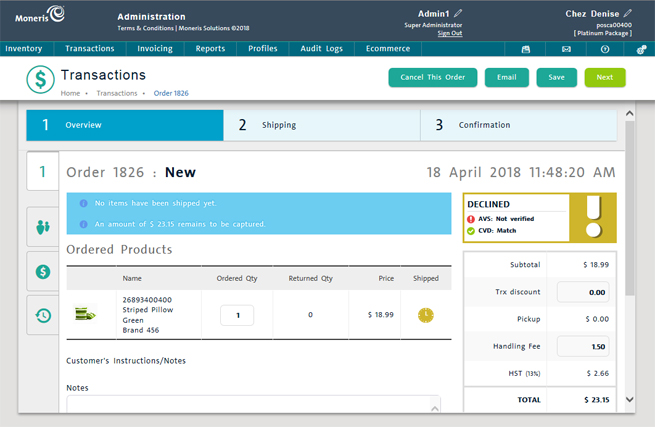
In the 1 Overview tab, view the order details:
View the order's details: review the products ordered, the customer information and shipping address if applicable, and the transaction details.
Click the Next button at the top of the screen.
In the 2 Shipping tab, do the following:
Verify that you have the products the customer ordered. If there are any differences, enter the values you can actually ship to the customer in the Qty to Ship fields e.g. if the customer ordered 5 of something, but you only have 3 to send, change the value of Qty to Ship from 5 to 3.
If applicable, enter the name of the shipping company being used into the Expeditor field.
If applicable, enter the shipment's tracking number assigned by the shipping company into the Tracking Number field.
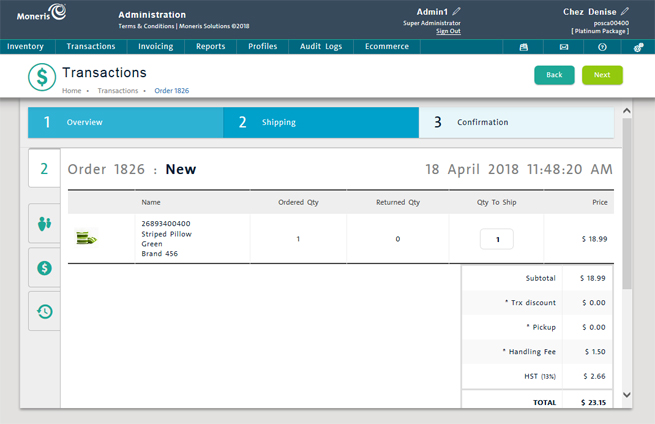
Click the Next button at the top of the screen.
In
the 3 Confirmation tab, review
your order one last time: review the products
ordered, the customer information
and shipping address if applicable, and the transaction
details.
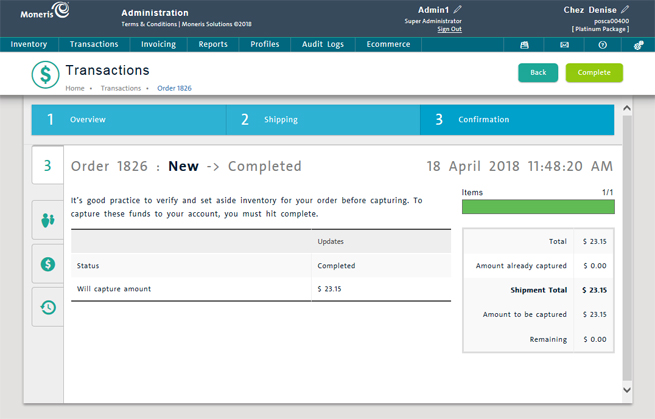
When satisfied, click the Complete button at the top of the screen.
A confirmation popup appears.
Click
the OK button to complete
the order and capture payment. Proceed to step 11.
OR
Click the Cancel button to
abort the operation and return to the Order Details screen.
A prompt appears asking if you want to see a preview of the order confirmation email (destined for the customer).
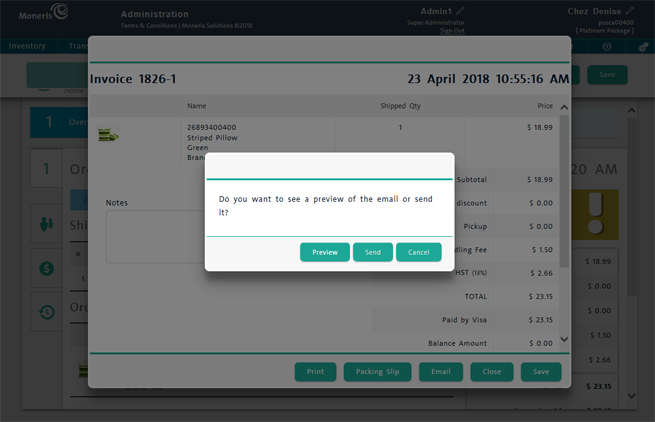
Do one of the following:
To see a preview of the email (and edit it if you wish), click the Preview button. Use the HTML Text Editor to edit the contents of the email, then click Send. The order's Invoice appears. Proceed to step 12.
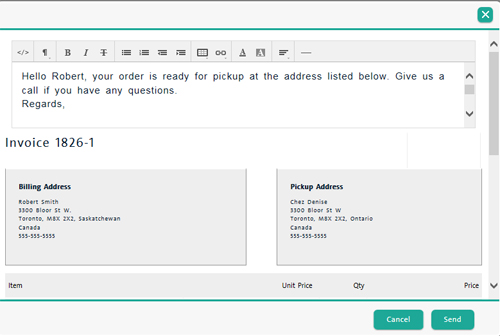
To send the email without previewing, click the Send button. The order's Invoice appears. Proceed to step 12.
To
cancel sending the email and return to the Transactions screen,
click the Cancel button.
NOTE: The
order is still complete at this point. You are only cancelling
the email to the customer.
On the order's Invoice popup, take one of the following actions:
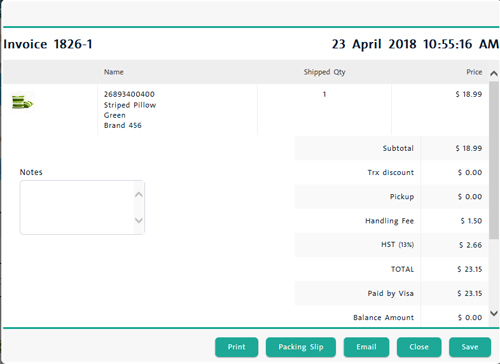
To print a copy of the invoice from your document printer, click the Print button. A Print dialog box appears. Select your printer, then click Print. Proceed to step 13.
To print a packing slip for the order, click the Packing Slip button. A Print dialog box appears. Select your printer, then click Print. Proceed to step 13.
To email the invoice to the customer, click the Email button. A prompt appears asking if you want to preview or send the email as described in step 11. Click a button to make your selection. Proceed to step 13.
To save a copy of the invoice, click Save. Proceed to step 13.
To close the Invoice popup, click Close. Proceed to step 13.
The order is complete. Package the products for shipping to the customer (or for pickup if they selected in-store pickup when ordering).
Based on the way that merchants have configured their Autocapture and Decline settings (in the eCommerce Options screen), it is possible for orders to decline if there are issues with the CVD that the customer entered during checkout, and if their address does not match with information from the card issuer. The customer would receive a decline message on the payment page, and will need to reenter their payment information, or try another card.
For more information on if eCommerce orders will complete successfully, refer to eCommerce Auto Capture Rules and eCommerce Transaction Decline Rules.
The Transactions Management View
Checking Out an eCommerce Purchase
Viewing eCommerce Order Details