Multi Location Employee Management
Use the Multi Location employee Details screen to manage the following aspects of employees at the head office, as well as the employees at the store level:
To access the Multi Location employee Details screen:
-
In the PAYD Pro PlusTM Multi Location main screen, click the Profiles menu.
-
On the Profiles menu, under the Employees section, click Search.
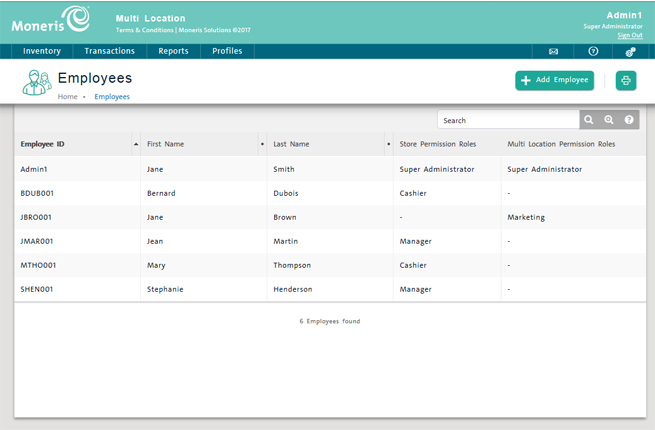
The Employees screen opens with a list of employees at the head office.
-
Click an employee's ID in the list.
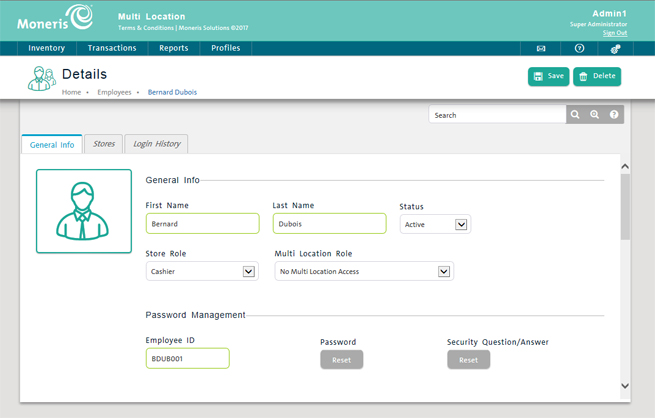
The employee Details screen opens.
To add a new head office employee:
To add a new store level employee:
To assign an employee to a permission role:
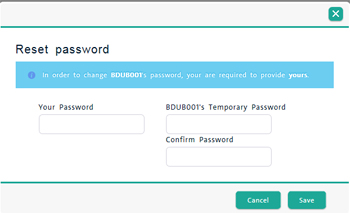
To change an employee's password:
-
In the Password Management section, complete the fields as follows (all fields are required and highlighted yellow):
-
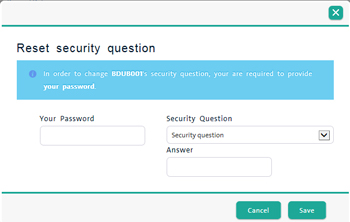
Security Question/Answer Reset button - Click this button to set the question or phrase the user will be prompted with if he/she forgets his/her password (required). The Reset security phrase popup appears. Fill out the popup as follows:
-
Your Password - Enter your password into this field.
-
Security Question - Enter a security phrase challenge into this field e.g. "Childhood pet" or "Mother's middle name". This phrase should be something that only the employee would know the answer to. Consult with the employee to determine what the question and answer should be.
-
Answer - The answer the user will need to provide if prompted with Security Question entered above (required) e.g. "Rex" or "Elizabeth".
-
Click Save to save the security phrase and answer, or click Cancel to abort the operation and return to the employee profile.
To assign a new employee to a store:
-
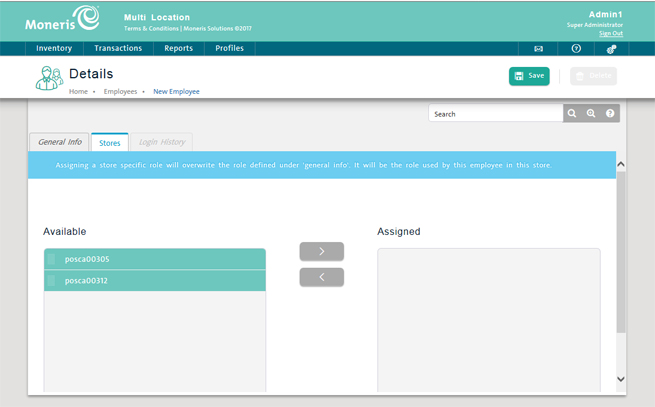
Click the Stores tab.
-
Click a store in the Available column and drag it to the Assigned column.
-
If applicable, repeat step 2 as necessary to assign the employee to multiple stores.
-
To save the profile, click the Save button at the top of the screen.
Once a head office employee is created and assigned to stores, you can set their permission role, thereby defining their level of system access when operating at the head office (in the Multi Location software) and at the store (in PAYD Pro Plus In-Store).
To set head office employee store permission roles:
-
In the Employee Details - General Info tab, click the Stores tab.
-
In the Assigned column, click the (No store specific role) link beside the store's name.
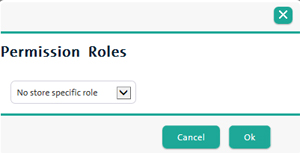
A Permission Roles popup appears.
-
Click the drop-down menu and select the store permission role you want this employee to use at this store.
-
Click the Ok button at the bottom.
The popup closes and you are returned to the Stores tab.
-
Repeat steps 2 - 4 as necessary for additional stores.
-
To save the profile, click the Save button at the top of the screen.
Related Topics:
The Multi Location Administration Main Screen
Adding Multi Location Employees
The Multi Location Permission Roles Screen
Adding a New Multi Location Permission Role
The Employees Screen


