Follow the instructions below to set up the Bluetooth receipt printer with your Apple iPad.
IMPORTANT: Keep the printer’s documentation for future use. It contains instructions for installation and auto-connection that may be required in the future.
NOTE: A Bluetooth receipt printer can only be paired with one Apple iPad at a time. If you need to pair the printer with another Apple iPad, first unpair the printer from the Apple iPad to which it is currently paired. Refer to Unpairing Devices for more information.
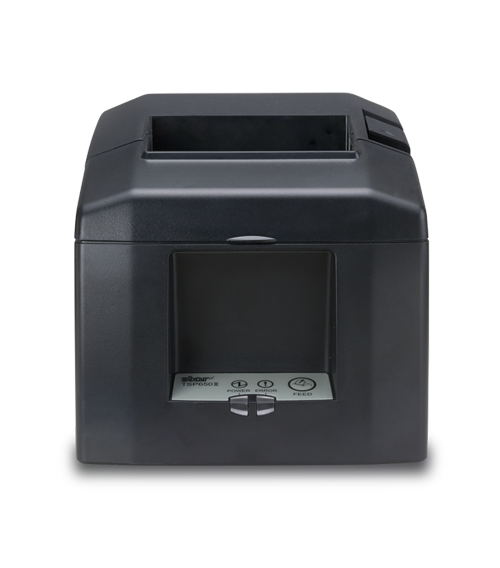
Unpack the receipt printer from its packaging.
Connect the printer’s power cable(s) and insert the paper roll following the manufacturer’s instructions as applicable.
Pair the printer with your Apple iPad:
a. Power on your printer.
b. Power on your Apple iPad.
c. Go into the Apple iPad’s Settings menu.
d. Ensure that your Apple iPad’s Bluetooth menu is open that Bluetooth is enabled, and that the device is configured to be “discoverable” by another Bluetooth ready device.
e. On the rear of the printer, hold down the red PAIR button for 5 seconds until the LED flashes green. You have 60 seconds to pair the printer to the Apple iPad.
f. On your Apple iPad’s Bluetooth menu, tap the printer’s name (e.g. “Star Micronics”) in the OTHER DEVICES list.
g. Wait while the Apple iPad pairs with the printer. You should receive notification of a successful pairing e.g. the printer will appear in the MY DEVICES list and you should see the status showing “Connected”.
h. Proceed to step 4.
After pairing, power off the printer and turn it back on to complete the connection.
Login to the PAYD Pro Plus App.
Tap the Settings button (![]() ).
).
On the main menu, tap Configuration.
In the Configuration screen, tap Devices.
On the right pane, under the RECEIPT PRINTER section, toggle the Enable Receipt Printer switch to the right to enable it.
Tap Choose.
The Printer Setup popup appears.
Tap the name of your Bluetooth receipt printer in the list. The popup closes and the status changes from “Not connected” to display the printer name e.g., “BT: Star Micronics”.
NOTE: If you have multiple receipt printers from which to choose, select the receipt printer that is closest to you for the best results.

If you have a cash drawer connected, proceed to Configuring Cash Drawer Options. If you are not using a cash drawer with your receipt printer, proceed to step 13.
Tap <Configuration at the top of the right pane to save your work.
The receipt printer is ready to work with the PAYD Pro Plus App.