After you have created a new theme for your PAYD Pro Plus ecommerce website, use the Themes screen to define how the website will appear to online customers. Follow the instructions below to determine ecommerce website behaviour and to define the way it will look to online customers.
From the PAYD Administration main screen, click Ecommerce.
On the Ecommerce menu, under the Site section, click Themes.
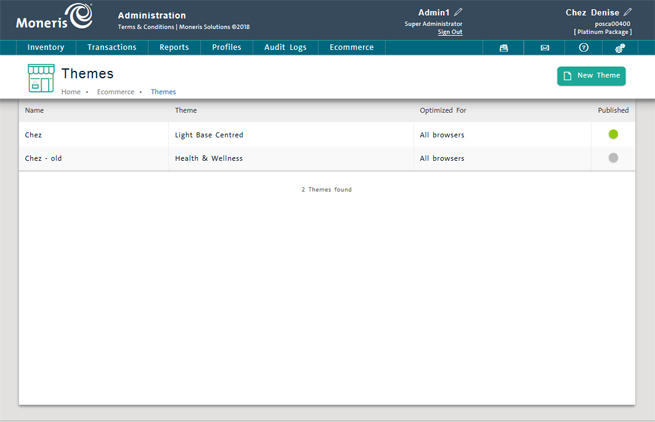
The Themes management view appears, with the list of defined themes visible.
In the Themes screen, click on the name of the theme you wish to edit.
The Themes profile screen appears with the Details tab selected.
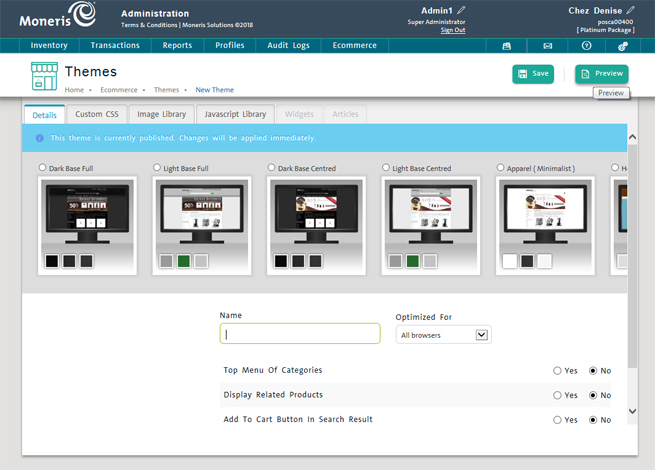
If desired, select a colour scheme in the Selected Theme section.
Define what product elements are displayed, and where the elements will be positioned in the Products section.
In the Logo section, click the image icon and browse for your business' logo to display on the top of the ecommerce website.
If you are going to use your own colour scheme for the ecommerce site (and not use one of the pre-defined PAYD Pro Plus colour schemes), select a background image in the Background section.
NOTE: If you do select a colour scheme, but then select a Background image, the selected background will supersede the colour scheme.
If desired, select a favourites icon in the Favorites Icon section.
Click the Save button at the top of the screen.
Click the Preview button at the top of the screen to see how everything looks. Close the preview screen and make changes as necessary.
Select one of our pre-defined colour schemes (like Dark Base Full or Light Base Centred etc.) for your ecommerce website. The colour schemes will create a background colour, accent colours, font colour and size. Use the Preview button to see how the colour scheme will look.
NOTE: Each website theme can have only one colour scheme at a time. The colour schemes cannot be mixed and matched. If you wish to create your own colour scheme, you can use CSS to define fonts and colours and use the Background Image selector below to define your own look and feel for the ecommerce website.
To select a colour scheme:
At the top of the Details tab, click the radio button beside the colour scheme name you wish to use.
NOTE: Use the horizontal scroll bar to scroll left and right through the possible colour schemes.
Click the Save button at the top of the screen.
Click the Preview button to see if you like it.
A web browser launches with a preview of how your site will look with the new colour scheme.
If you are satisfied with the selected scheme, leave it as is and move on to the next section.
OR
If you would like to try a different colour scheme, repeat steps 1-3 until satisfied.
The product themes define where product images and other information appear on the ecommerce website. Consult the table below to determine what each setting does:
| Menu Option | Performs this task: |
|
Top Menu of Categories |
Places a product categories menu across the top of the page so that customers can quickly browse to a group of items. The categories are linked to product categories defined in Inventory. |
|
Display Related Products |
Displays a list of related products similar to the item the customer is looking at i.e. if they are looking at Brand XYZ radio controlled vehicle, a group of other radio controlled vehicles from other brands will also appear. The related products element will appear only if the product selected by the online customer has related products defined in the product's profile (the Related tab in Product Details screen). If there are no related product linkages for an item selected by a customer on the ecommerce website, this element will not appear on the screen. |
|
Add To Cart Button In Search Result |
If a customer performs a search on your site, this setting controls whether or not the "Add to Cart" button appears beside the search results. |
|
Number of Products Per Row In Search Result |
Use this field to define the number of products that will display in each row in product search results. |
HINT: Once you select a product theme (and location if applicable), use the Preview function to see how it will look on the page before you save your changes.
Use the default product image to insert an image where a specific product image is not specified. For example, you might select an image that displays a message like "Sorry Image Not Available". For any items that have images defined in inventory, their defined images would appear - for items that do not have an image defined, they would display the image file with the message "Sorry Image Not Available".
Click the Default Product Image header on the left side of the screen.
The Default Product Image section expands.
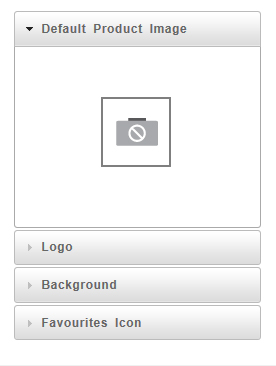
In the Default Product Image section, click the image in the middle of the area.
A Choose File to Upload dialog box opens.
In the Choose File to Upload dialog box, browse to the folder where your image file is stored.
Select the image file and click the Open button.
The Choose File to Upload dialog box closes.
Click the Preview button to see how your image looks.
If you are satisfied with the appearance of the image, click the Save button at the top of the screen. If you are unsatisfied with it, repeat steps 1 - 5.
NOTE: If you are unsatisfied with the logo image itself, you can edit it within a third party software (outside of PAYD Pro Plus), save it, then try to upload into ecommerce again.
It is possible to select your corporate logo that will appear at the top of the website underneath the browser controls. The logo can be an image, or text or a combination of image and text. This logo will return the ecommerce website user to the parent website when clicked.
NOTE: The logo image file needs to be saved on your computer's local hard drive as a an image file format e.g. JPEG, BMP, GIF.
Click the Logo header on the left side of the screen.
The Logo section expands.
![]()
In the Logo section, click the image in the middle of the area.
A Choose File to Upload dialog box opens.
In the Choose File to Upload dialog box, browse to the folder where your image file is stored.
Select the image file and click the Open button.
The Choose File to Upload dialog box closes.
Click the Preview button to see how your logo looks.
If you are satisfied with the appearance of the logo, click the Save button at the top of the screen. If you are unsatisfied with it, repeat steps 1 - 5.
NOTE: If you are unsatisfied with the logo image itself, you can edit it within a third party software (outside of PAYD Pro Plus), save it, then try to upload into ecommerce again.
A background image is sometimes referred to as "wallpaper", and will display underneath other elements that appear on the page. You can use a background image instead of using one of the pre-defined colour schemes described above.
You can choose to either use a background image and use CSS to customize the look of your website, or you can use one of the colour schemes selected above. However, if you have selected a colour scheme, then you choose to use a background image, please note that the background image will superseded (replace) the selected colour scheme.
NOTE: The background image file needs to be saved on your computer's local hard drive as a an image file format e.g. JPEG, BMP, GIF.
Click the Background header on the left side of the screen.
The Background section expands.
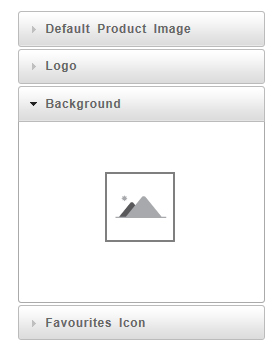
In the Background section, click the image in the middle of the area.
A Choose File to Upload dialog box opens.
In the Choose File to Upload dialog box, browse to the folder where your image file is stored.
Select the image file and click the Open button.
The Choose File to Upload dialog box closes.
Click the Preview button to see how your background looks.
If you are satisfied with the appearance of the background, click the Save button at the top of the screen. If you are unsatisfied with the results, repeat steps 1 - 5.
NOTE: If you are unsatisfied with the background image itself, you can edit it within a third party software (outside of PAYD Pro Plus), save it, then try to upload into ecommerce again.
A Favourites icon appears in the top left corner of a web browser's title bar and beside your site's name in a list of bookmarks.
NOTE: The favourites icon file needs to be saved on your computer's local hard drive as a an icon file format (.ICO).
Click the Favourites Icon header on the left side of the screen.
The Favourites Icon section expands.
![]()
In the Favorites Icon section, click the image in the middle of the area.
A Choose File to Upload dialog box opens.
In the Choose File to Upload dialog box, browse to the folder where your icon file is stored.
Select the icon file and click the Open button.
The Choose File to Upload dialog box closes.
Click the Preview button to see how the icon looks in the new web browser preview screen that appears.
If you are satisfied with the appearance of the icon, click the Save button on the bottom of the screen. If you are unsatisfied with the results, repeat steps 1 - 5.
NOTE: If you are unsatisfied with the icon itself, you can edit it within a third party software (outside of PAYD Pro Plus), save it, then try to upload into ecommerce again.
Managing Ecommerce Website Themes